Netgear extenders, by default, show their network name (SSID), so that other devices can easily discover and connect to them. Although enabled SSID could be a great alternative for public WiFi networks, it is not suitable for personal WiFi networks. If your Netgear extender’s network name is visible to others, then it becomes easy for unauthorized users to connect to it.
You can prevent unauthorized users from connecting to your extender by disabling its SSID broadcast. Thus, if you have performed Netgear extender setup at your home, keep reading to know how to disable SSID broadcast on your extender and protect it from cyber threats.
Need to Disable SSID on Netgear Extender
A visible SSID on your Netgear extender is like a door without a lock. If you don’t hide the network name of your extender, it would be an invitation for the hackers to access your WiFi network. Therefore, it becomes necessary to disable the SSID broadcast on your Netgear extender. Doing so will make your extender’s network name invisible, making it difficult for unauthorized users to access it.
Now, you are familiar with the benefits of hiding the network name on the Netgear extender. If you have taken the wise decision of disabling the Netgear_ext of your extender, bear in mind that you have to sign in to your extender before doing so.
Steps to Disable SSID Broadcast
- Plug your Netgear extender into a working wall socket and switch on the Power button. Await until the power LED turns green.
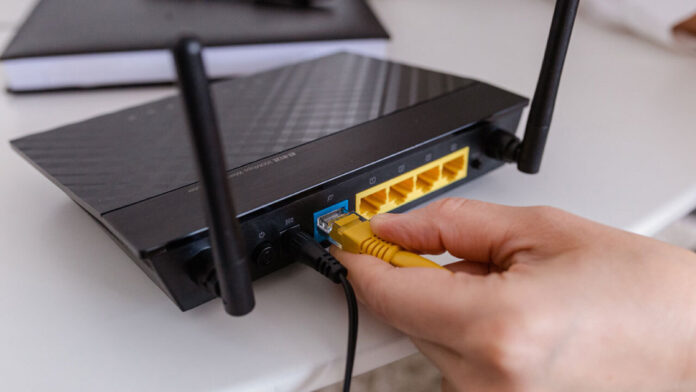
- Establish a finger-tight connection between the extender and router by using an Ethernet cable. Make sure that the Ethernet cable is free from any damage.
- Switch on your PC and launch an updated web browser of your preference.
- Move to the address bar of your web browser and type 192.168.1.250. Once done, press the Enter key.
- As soon as you press the Enter key, the Netgear extender login page will appear on the screen asking for the username and password. Fill in the default username and password and click the Log In button.
- The Log In button will make you land on the Netgear Genie setup wizard.
- Now, to disable the SSID of your Netgear extender, go to the WiFi Settings option under the Settings menu.
- Uncheck the Broadcast Network name (SSID) option for 2.4GHz. Do the same for 5GHz . Once done, click on the Save button and make the changes effective.
- As soon as you click the Save button, your Netgear extender’s SSID will no longer be visible to anyone.
In this manner, you can disable the SSID broadcast on WiFi network if you have performed Mywifiext setup.
What to Remember While Disabling SSID Broadcast?
- Make sure that your Netgear extender is receiving an uninterrupted power supply. You can ensure it by checking the status of the power LED on the extender. If it is not glowing green, consider plugging your extender into another wall socket.
- To enable the SSID broadcast on your extender, ensure that you have a super-fast internet connection. You can enhance the speed of the internet by connecting the extender and router via an Ethernet cable.
- An outdated web browser can prevent you from accessing the Netgear extender login page. Thus, update your web browser before logging in to your extender. But, updating the web browser is not enough. You also need to clear its browsing history, cookies, and cache.
- Keep the firmware of your Netgear extender updated to its latest version.
- Above all, use the correct default login credentials to log in to your extender and avoid typos while doing so.
Wrapping Up
In this era of hackers, you can prevent unauthorized users from accessing your WiFi network by hiding its SSID. We hope that this article will help you to disable the SSID broadcast on your Netgear extender and prevent it from potential threats.


