
![Installation Of PrestaShop 1.7.X On LocalHost [Step By Step Tutorial]](https://cherishsisters.com/wp-content/uploads/2022/10/Install-prestashop.jpg "Installation Of PrestaShop 1.7.X On LocalHost [Step By Step Tutorial]")
The open-source eCommerce theme platform is the Prestashop theme. This platform gives the user a dashboard that is based on stats, so they can run their site however they want.
Here, we’ll show you how to install the PrestaShop theme on your local host.
Let’s get started!
Follow the Step to install the PrestaShop theme
Before Starting Installation you need the Following
1. First of all Install WAMP or XAMPP in your local Computer
2. The PrestaShop theme Installation file
1. WAMP or XAMPP can be set up on your computer.
Here’s how to set up a WAMP Server, and here’s how to set up an XAMPP Server.
2. Installation Of PrestaShop
A. Download PrestaShop theme
To Download PrestaShop, go to http://www.prestashop.com/en/ and Download PrestaShop Files.
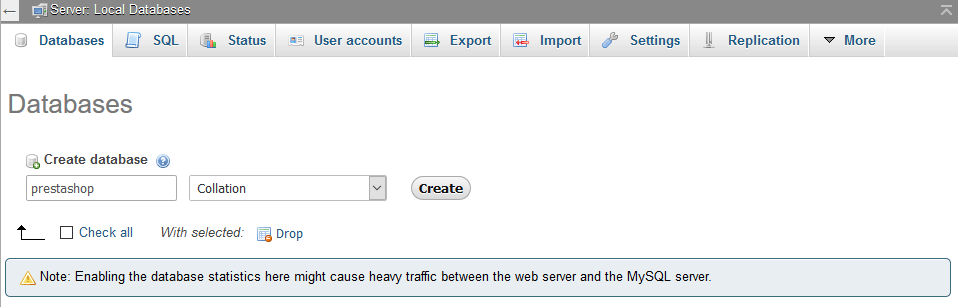
B. Create Database
Prior to beginning the PrestaShop theme First, create a database. Open WAMP or XAMPP’s PhpMyAdmin and create a new database. Let’s give the name the PrestaShop theme.
C. Create a file and folder
Now, go to www if your server is WAMPP or docs if it’s XAMPP. Extract the file you just downloaded, and name the folder after the name of your theme. All of your files are now in one folder.
D. Start Installation
Open Localhost in your browser and open your project. Like: localhost/Prestashop-demo
Now open the PrestaShop theme installation wizard. Like
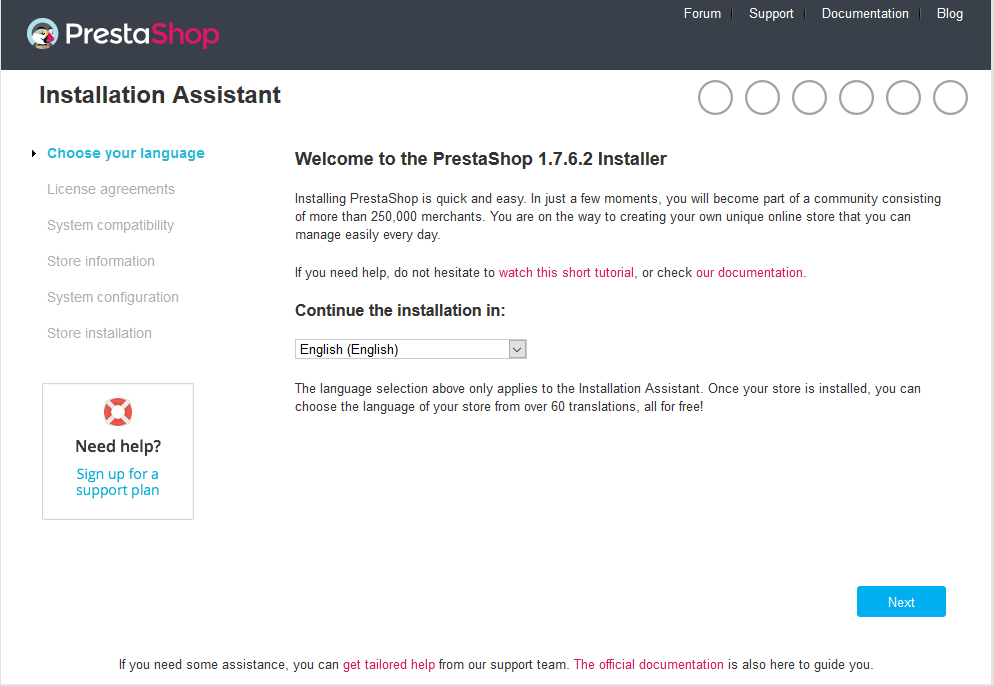
Select your language and then click on “Next.”
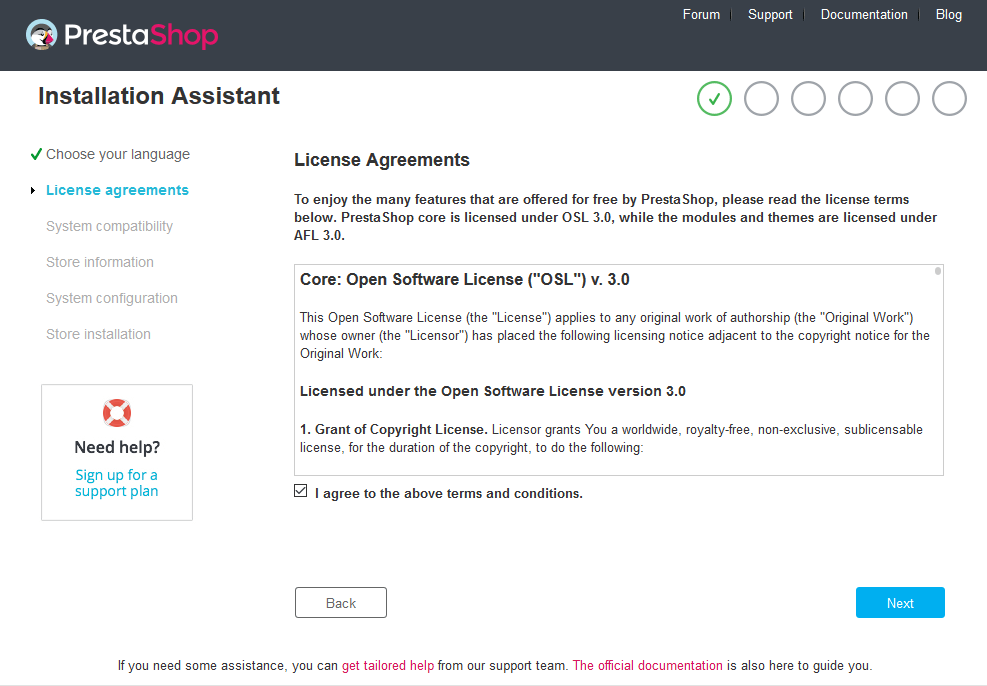
Select I agree to the above terms and conditions. and then click on Next.
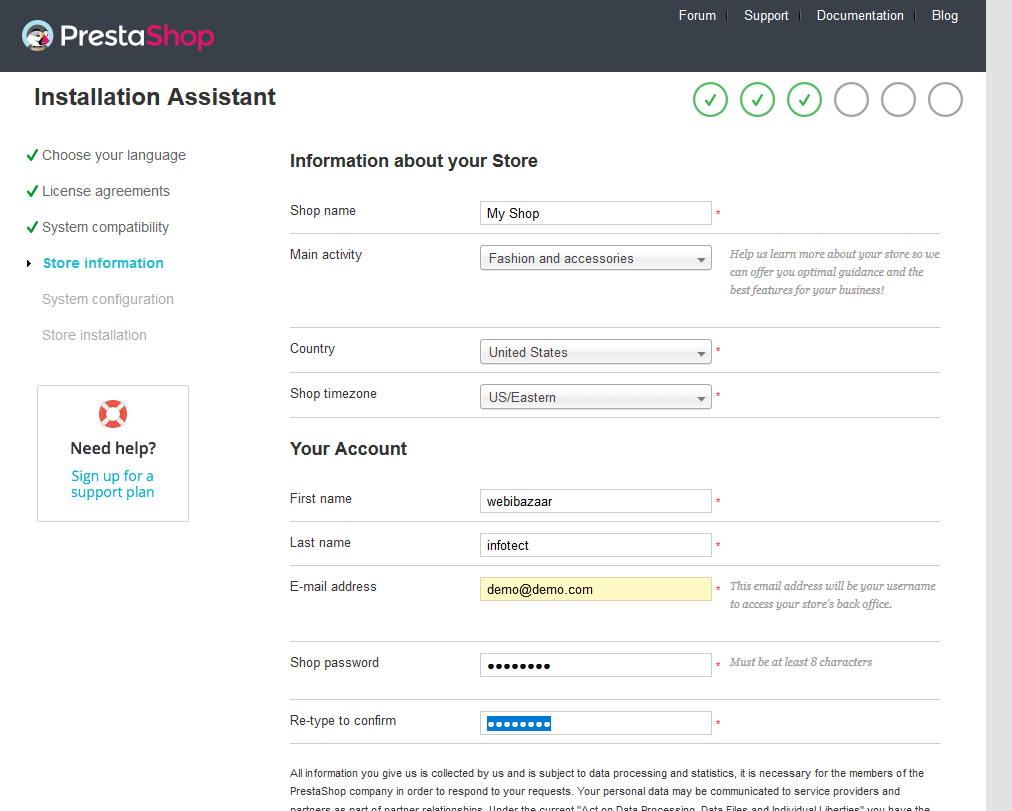
Fill up Your Store’s information details properly and click on the next.

This step is very important. This is where you give information about your database.
In our case, we will keep the
- “127.0.0.1” is the address of the database server.
- Name of the database as the PrestaShop theme (blank database name that we created)
- The database login is “root,” which is the database’s default user name, which is also “root.”
- We do not insert database passwords. We aren’t setting database passwords, so if you do, you’ll need to add database passwords.
- You can choose how to set the table prefix.
- You can see if the PrestaShop theme system can connect to the database.
- Click the “Test database connection” button below to see if the connection is working.
Once the database connection is set, then click on the Next button.
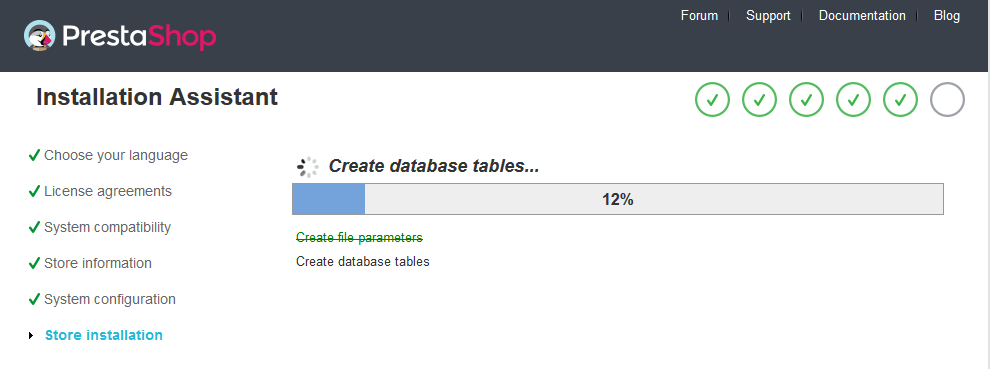
Now Store installation is starting.
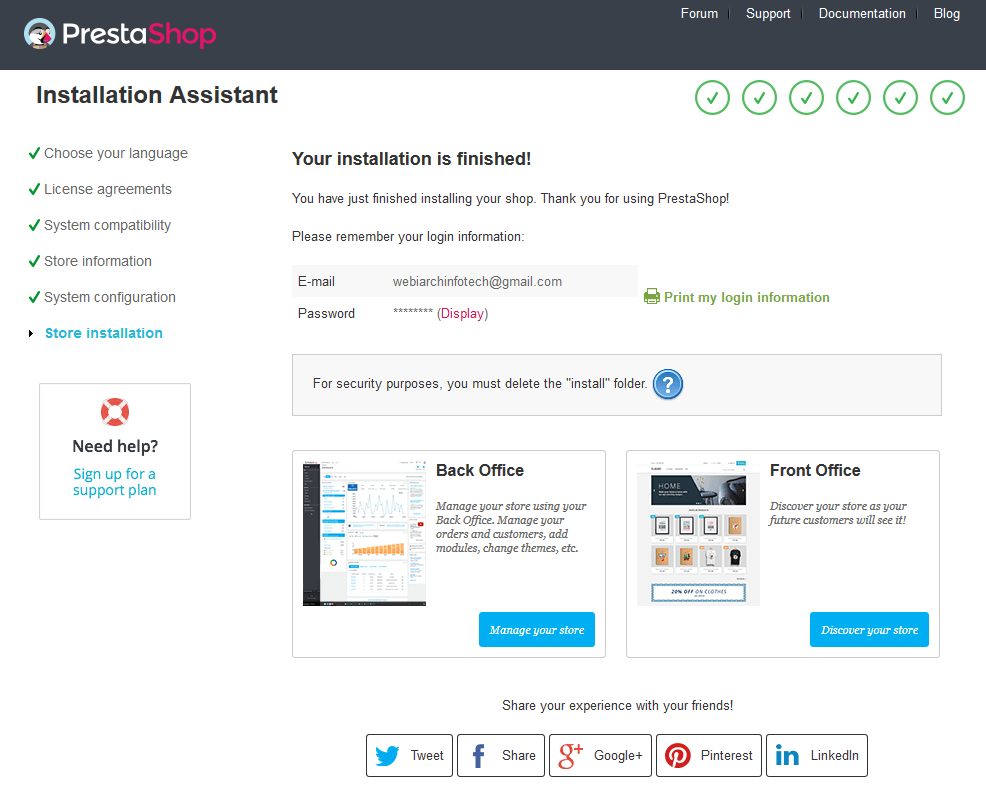
After installation is complete, you must delete the “install” folder from the PrestaShop theme installation folder. and rename the admin folder like “Admin123”.
I hope you will successfully install PrestaShop on localhost!
Themevolty offers a variety of eCommerce Prestashop templates, prestashop translate module , including Best Prestashop themes, Responsive BigCommerce themes, Shopify themes, OpenCart themes, and WooCommerce themes.


