

Are you looking to advance your road excursions and outdoor adventures?
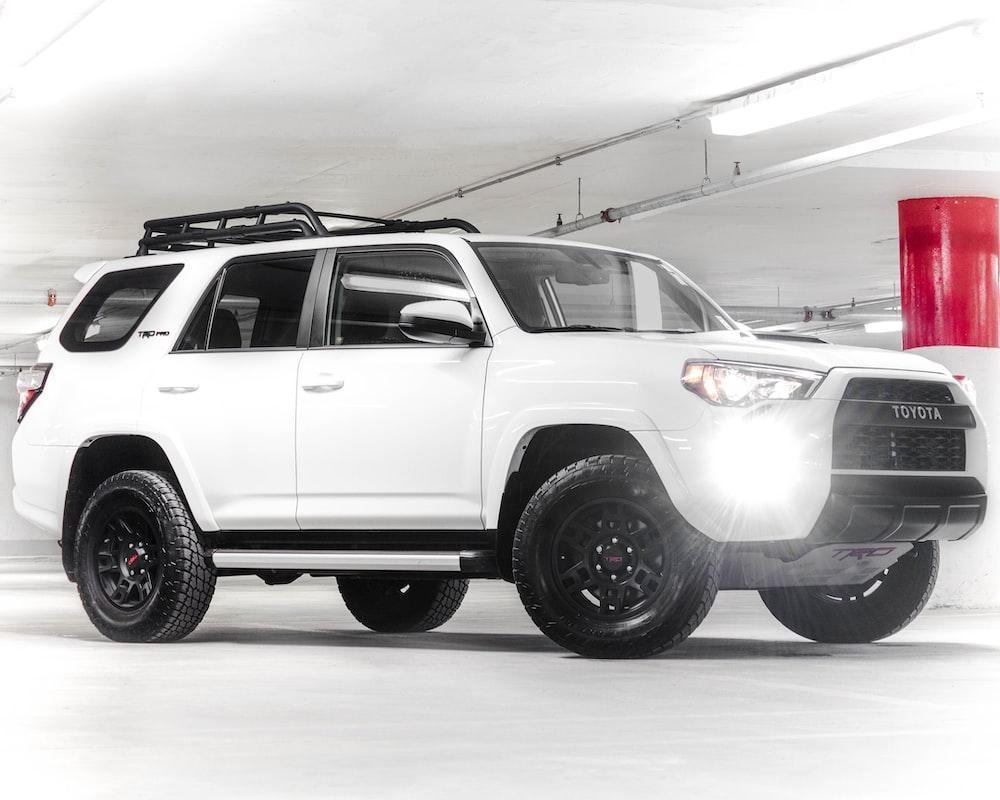
If your car is too small to fit all of your baggage and gear, installing a roof basket may be the ideal answer. A roof basket gives your car a more robust look and offers useful additional storage for all of your gear.
You can carry all the things you need safely on the roof of your car by mounting a roof basket, giving you more room and comfort inside. This installation guide takes you step-by-step through the procedure of placing a roof basket on your car for camping, sports, or exploring.
- Lay Out Roof Basket Installation Components

Equipping your car with a roof basket promises newfound convenience and versatility for your travels. However, acquire the perfect roof rack tailored to your vehicle’s needs before installing the basket.
You’ll find an array of roof racks in automotive accessories, each uniquely designed to match different car models. Choosing the one that perfectly fits your vehicle is crucial, ensuring a seamless and secure attachment.
Once you’ve selected the ideal roof rack, gather all the essential hardware and accessories to bring this setup to life. Bolts, nuts, washers, and locking pins are vital in holding everything together and ensuring your roof basket stays firmly in place.
- Clean The Roof Of Your Car
Before installing your roof basket, prepare the roof of your car for this grand addition. The key to a strong and reliable bond between the roof basket and your car lies in the clean canvas it rests.
Wipe away any traces of dirt, grime, or lingering residues that might hinder the seamless connection. Cleanse your raised or flush roof rails, freeing them from debris hindering the perfect fit.
Use a concoction of mild soap and water for this endeavor. With a microfiber cloth, sweep away any remaining moisture, leaving the surface immaculate and ready for the roof basket’s installation.
- Measure and Mark the Position

With your roof prepped and primed, it’s time to place the roof basket onto the waiting roof rack. Position the roof basket with a keen eye for symmetry, ensuring it rests at the heart of your vehicle’s roof.
Precision is key here, so whip out your measuring tape to ensure equal distances from the roof’s edges to the basket on both sides. Once you achieve precise positioning, use a marker or pencil to trace the mounting points on the roof rack.
This act, though small, is a crucial step in installation, ensuring your roof basket is securely fastened to its rightful place on the car.
- Install The Roof Basket On Your Car
Now comes the crucial moment of installing the roof basket. With the basket gently placed in its marked position, follow the guidance of the manufacturer to attach using the provided mounting hardware – brackets, bolts, nuts, and washers.
Each piece is crucial in this installation, ensuring the roof basket becomes one with the roof rack. With precision and finesse, slide the brackets into place, fasten the bolts, and secure the nuts. Tighten each connection to ensure stability and a perfect union of form and function.
After attaching the roof basket, you can use it for your adventures. Load your roof basket, ensure not to overload the basket, and ensure the weight is evenly distributed.
- Check for Stability and Security
When installing a roof basket on your car, ensure it is stable before putting it in function. A stable roof basket should be steady on the car without movement. If you detect even the slightest hint of a wobble, fine-tune it.
Return to each connection and double-check those brackets, bolts, nuts, and washers. Tighten them precisely to ensure they are tight enough to stabilize the roof basket. Use a torque wrench to tighten all the bolts.
Your roof basket will stand strong, ready to carry your cargo through your journey. With this sense of achievement, you can embark on your adventures, knowing that your roof basket is securely and majestically in place.
- Test the Roof Basket

Run a rehearsal before you load your cargo on the car basket. Hop in, fasten your seatbelt, and take your car for a short test drive with your roof basket on the car. Listen closely to your vehicle’s performance.
If you detect any irregular notes or movements, take a moment to re-check the installation. Make any adjustments with precision, fine-tuning the connections for a flawless performance.
Once you are assured of its stability, load your belongings onto the roof basket, and secure them for your adventure. Check the roof basket regularly for signs of wear or damage.
Bottomline
If you are uncomfortable installing the roof basket, take it to a professional. Follow the manufacturer’s instructions when installing and using your roof basket.
You’ve now mastered installing a roof basket on your car, opening up a world of possibilities for your future travels. With your gear securely and stylishly stored on the roof, you have all the space you need.
You can use the roof basket for camping trips to the great outdoors, thrilling sports activities, and even everyday errands. Embrace the freedom of the open road and make the most of every moment.
Whether heading to the mountains, the beach, or exploring new cityscapes, your car’s roof basket is the key to unlocking a world of convenience.


